I received those containers as a gift with natural tea and cashew nuts, after the containers became empty, I was not willing to throw them away and used them for decoupage.
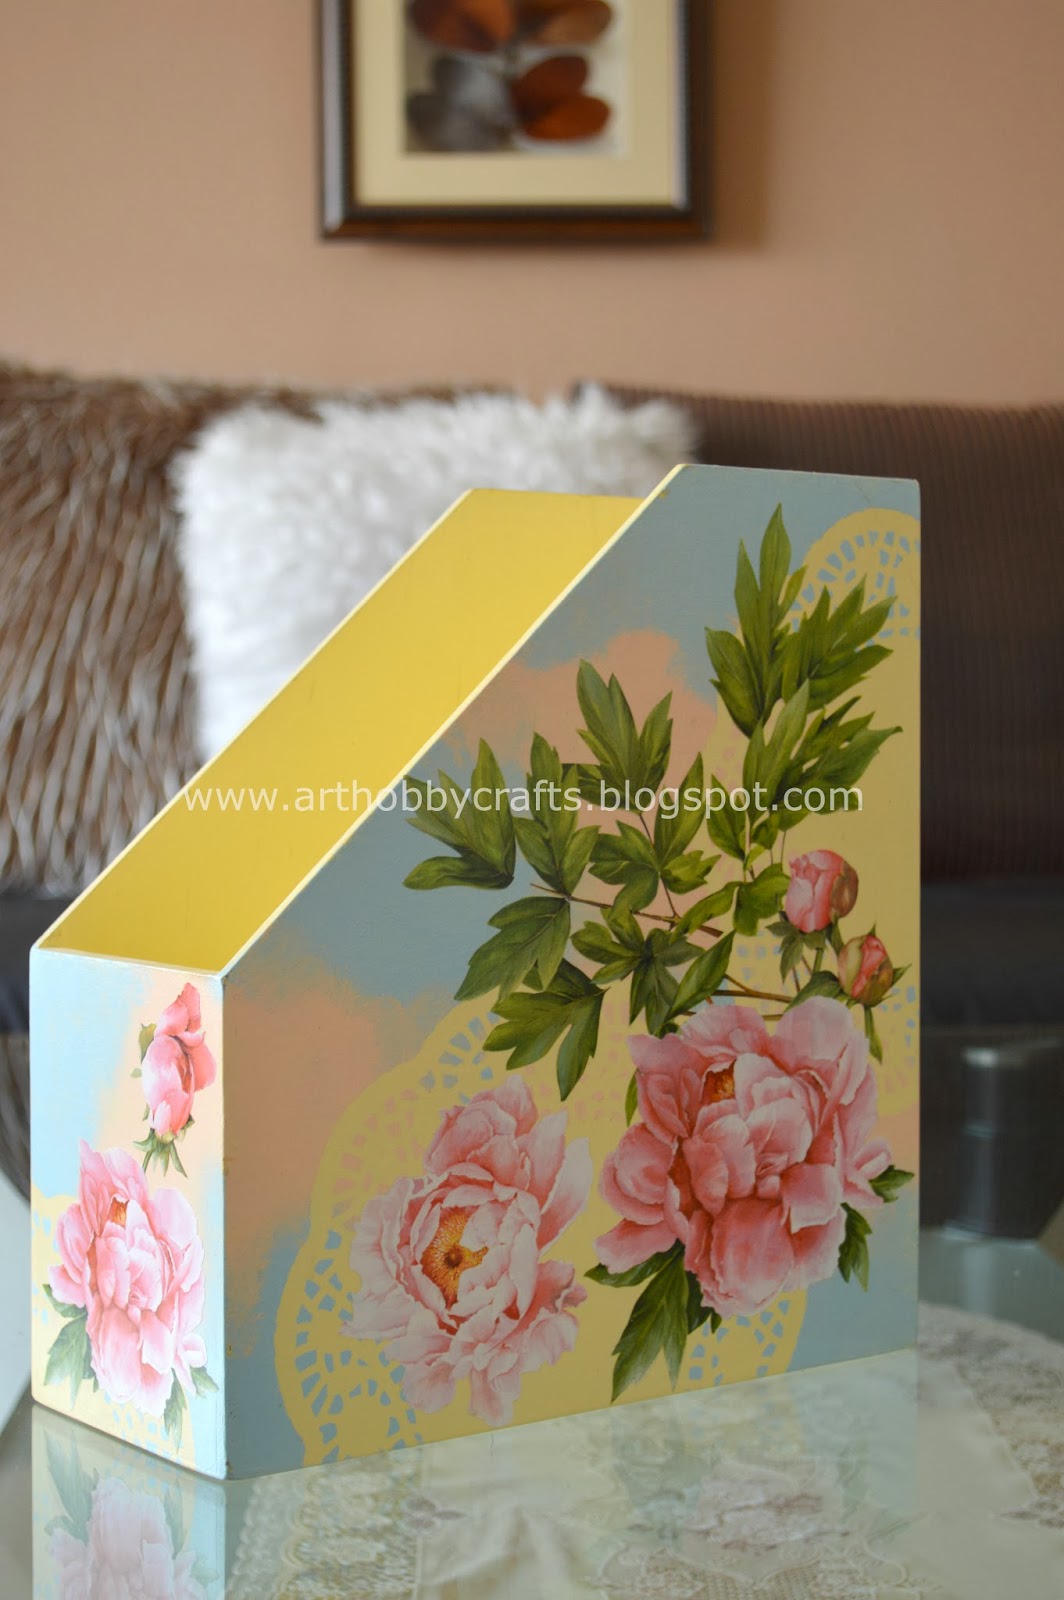
This wonderful piece of decoupage box is made by my student Lalitha Mohan.
Materials needed:
Decoupage glue
Any type of MDF or wooden box
Decoupage varnish
A flat brush
A napkin and a sponge
Step 1: Give a base coat using background colour (background colours for decoupage are readily available in Thailand).
Step 2: Dab the box using acrylic or fabric paint in colours of your choice.
Step 3: Coat the area where you want to stick the picture using decoupage glue, and dry it using a hair dryer.
Step 4: The decoupage napkin usually has three layers stuck together, so gently cut the napkin in a desired design and remove the two white layers. Then place the napkin on the area where the glue is applied, dip the sponge in water to wet it, then squeeze the water out, and dab it on top of the napkin. Do not stroke the napkin. Dry it with a hairdryer again. [Note: If the glue wasn't applied properly in certain areas, you can still apply more glue on top of the napkin!]
Step 5: Finally give a coat of decoupage varnish.
Step 6: Dry using a hair dryer again.Now your master piece is ready to use.